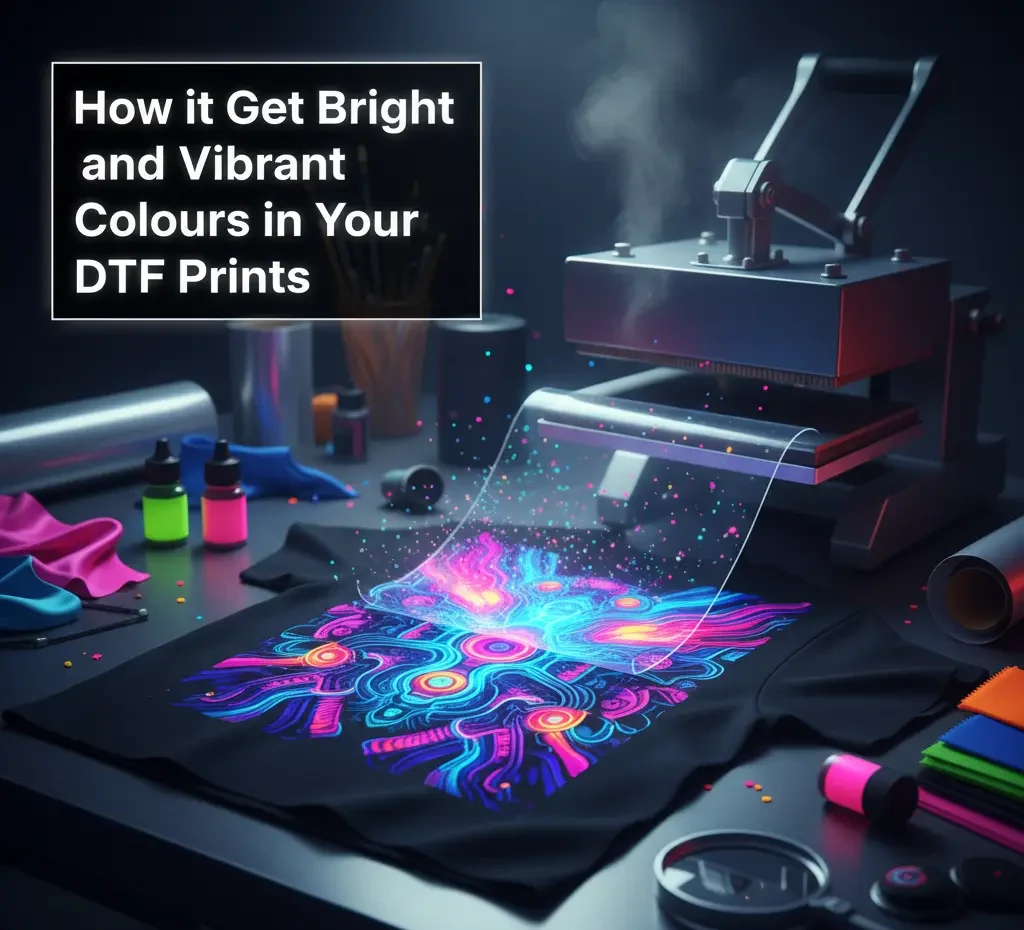
As someone who has spent years perfecting DTF printing, I can tell you that vibrant colour doesn’t happen by chance. It comes from balancing the right film, ink density, curing temperature, and maintenance. At WiseDTFPrints.com, we work with professionals and hobbyists across the UK who want their prints to pop with brightness and detail. In this guide, I’ll share practical ways to help you get bright and vibrant colours in your DTF prints without any guesswork.
1. Choose the Right DTF Film Type
The quality of your DTF film type plays a huge role in how your prints look. A poor-quality film won’t hold colours well or transfer ink evenly. Always use premium films that have a smooth coating and excellent ink absorption.
If you’re printing in bulk or need high-quality transfers, I recommend checking our Custom Metre DTF Transfer Roll, Premium Heat Transfer Film. It delivers sharp detail and consistent colour output, perfect for both small and large runs.
2. Apply the Correct White Ink Underbase
A bright print begins with a solid white ink underbase. This layer ensures that your colours appear vivid and not dull or transparent. Too thin a layer can make prints look faded, while too thick a layer can cause bleeding.
Before printing, make sure your printer’s white ink channel is clean and well-calibrated. This helps the colour layer sit evenly and enhances the final look of your artwork.
3. Set the Right Colour Density Settings
When it comes to colour density settings, balance is key. If your ink density is too low, colours will look pale; too high, and the print may smudge or take longer to cure.
Use your DTF printer’s test feature to print small samples before committing to a large batch. Adjust the settings until your reds, blues, and greens appear rich and true to your design.
4. Manage Ink Saturation for Maximum Vibrancy
Your ink saturation determines how deep and full your colours appear. Keep it high enough for strong tones but not so high that it oversaturates the fabric.
In my experience, maintaining optimal humidity (around 45 to 55%) in your workspace also helps keep ink flow steady. This simple step can prevent nozzle clogs and uneven coverage, both of which affect vibrancy.
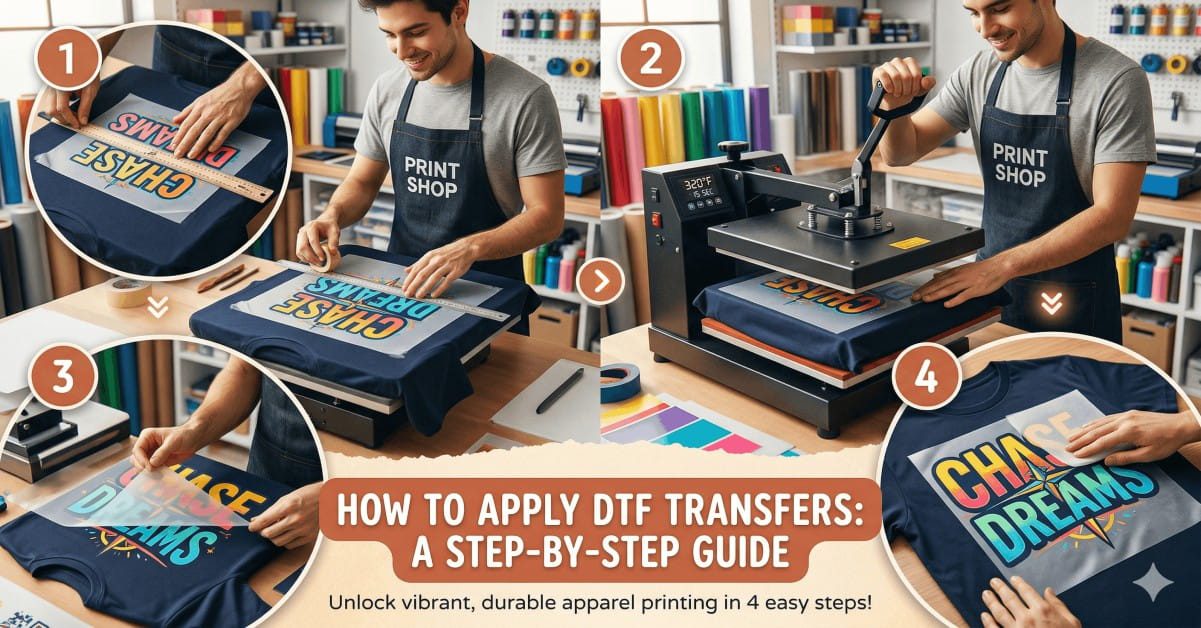
5. Perfect the Heat Press Temperature
The heat press temperature is one of the most overlooked factors in achieving bright DTF colours. If the press is too hot, the ink can overcure, leading to dull or cracked prints. If it’s too low, the design won’t bond properly.
The ideal range is typically 150 to 160°C for 15 to 20 seconds. Always test your fabric type before final production. For example, polyester may require a slightly lower temperature than cotton.
6. Get Curing Time and Temperature Right
Your curing time and temperature are critical for ink bonding. Curing ensures the pigments adhere to the film and fabric correctly. Under-curing causes fading, while over-curing can burn the ink layer.
Use a consistent temperature of around 110 to 120°C for 2 to 3 minutes during curing. You’ll notice your prints maintain their brightness longer and resist washing much better.
7. Calibrate Your DTF Printer Regularly
Printer calibration isn’t optional, it’s the heart of colour accuracy. Regular DTF printer calibration aligns your print head and colour output, reducing streaks or uneven tones.
Once a week, run a nozzle check and alignment test. Even minor misalignments can throw off your colour balance. It’s a small effort that makes a huge difference in your final results.
8. Optimise Your DTF RIP Software Settings
The DTF RIP software settings control how colours are processed and printed. Always work in RGB mode for richer hues, and ensure your ICC profile matches your printer and ink type.
Most modern RIP software lets you fine-tune ink limits, dot gain, and colour channels. Use these tools to boost specific shades, for example, slightly increasing cyan and magenta for more vivid tones.
9. Apply Powder Adhesive Evenly
A smooth powder adhesive application ensures your design transfers cleanly. Too much powder can create clumps, dulling the finish, while too little causes weak bonding.
After printing, shake off excess powder and make sure the coating is uniform. A good adhesive layer makes the colours look glossy and prevents patchiness once pressed.
10. Maintain Your Print Head
Your print head directly affects your DTF printing colour quality. Regular print head maintenance keeps nozzles clean and prevents ink mixing or fading.
Run cleaning cycles weekly and use manufacturer-approved cleaning solutions. If your print starts to show faint lines or dull tones, it’s often a sign that your print head needs attention.
11. Control Your Work Environment
Even the best printer can’t perform well in poor conditions. Keep your workspace dust-free and stable in temperature. A humid or overly dry environment can disrupt ink flow and colour consistency.
For example, I’ve seen many beginners skip this step, only to struggle with fading prints. Stable surroundings help maintain ink viscosity and ensure even transfer.
12. Test, Adjust, and Record
Achieving vibrant DTF colours is an ongoing process. Always print test samples before production. Adjust one setting at a time, film, ink, or heat, and record the results.
This habit not only saves materials but also builds your expertise. Over time, you’ll know exactly which settings give you the best prints for each fabric type.
13. Use Premium Supplies
High-quality inks, films, and adhesives deliver superior results. Inferior materials might save you money in the short term, but they fade quickly and reduce customer satisfaction.
You can explore our Shop page for tested products like:
- A3 DTF Transfer Sheet, Custom Heat Transfers for All Fabrics
- Custom Metre DTF Transfer Roll, High Capacity Film
- Buy Wholesale DTF Transfers
Professional DTF printers across the UK trust all our products for their durability and colour consistency.
14. Keep Learning and Experimenting
DTF printing technology keeps improving, and so should your skills. Explore new films, inks, and software updates. The more you test, the brighter your results will become.
I’ve found that small tweaks, like lowering curing temperature slightly or switching to a finer adhesive powder, can create noticeable improvements in brightness.
Conclusion: Let Your Prints Shine
Bright and vibrant DTF prints are a mix of science and skill. From ink saturation to heat press temperature, every detail matters. By following these steps and using quality materials, your prints will have the colour depth and clarity your customers expect.
At WiseDTFPrints.comwe help you bring your ideas to life with rich, lasting colours that stand out. Whether you’re just starting or running a professional setup, remember, consistency is your best tool for excellence.
Read more: How to Press DTF Transfers on Any Fabric
Frequently Asked Questions
Why do my DTF prints look dull instead of bright?
Dull prints often result from incorrect heat press temperature or low ink density. Check your colour density settings and ensure you’re using quality DTF film and white ink underbase for better colour pop.
How can I improve the colour vibrancy of my DTF prints?
To get vibrant DTF colours, maintain proper ink saturation, use a smooth powder adhesive application, and set correct curing time and temperature. Regular printer calibration also helps keep colours sharp and consistent.
What’s the best heat press temperature for DTF printing?
The ideal heat press temperature for bright prints is usually between 150°C and 160°C for 15 to 20 seconds. Always test a sample first, as different fabrics absorb colour differently.
Does the type of DTF film affect colour brightness?
Yes. The DTF film type impacts how well inks bond and how vibrant your prints appear. Premium films, like those available at WiseDTFPrints.com, ensure better DTF printing colour quality and long-lasting results.