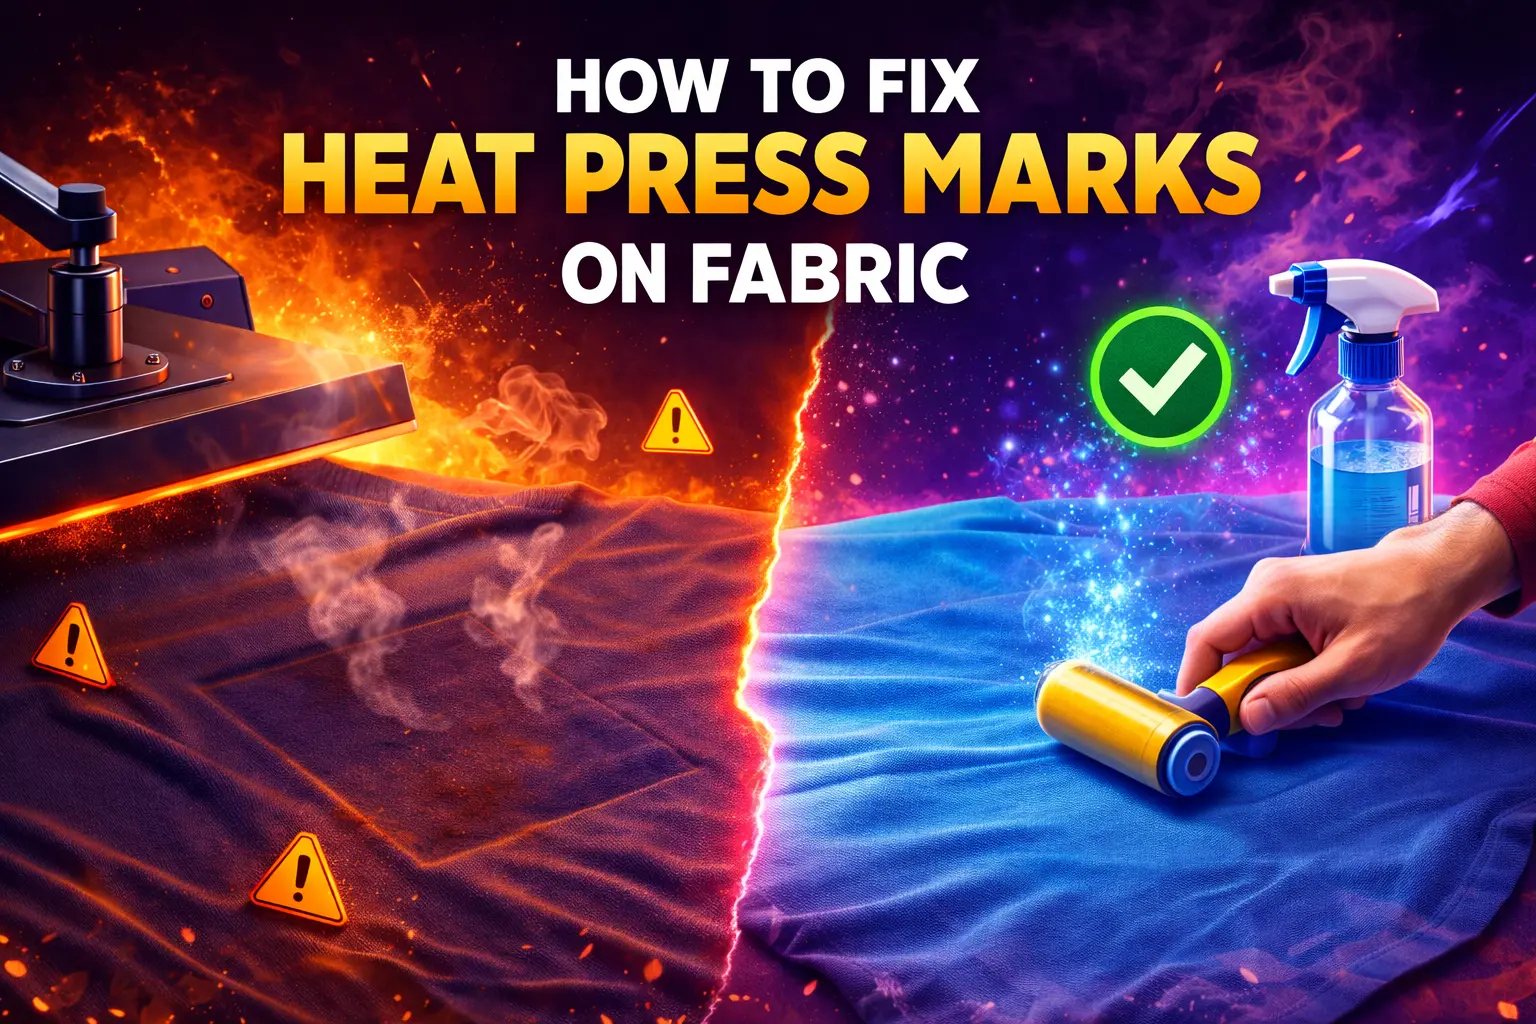
If you work with heat presses long enough, this problem shows up sooner or later. You lift the press. The print looks fine. Then you notice it. A shiny patch. A flat mark. Sometimes, even a faint scorch line.
I have dealt with this more times than I can count. At Wise DTF Prints, we press thousands of garments every month. Heat press marks happen to beginners and pros alike. The good news is this: most marks are fixable if you act the right way and do not rush.
In this guide, I will show you how to fix heat press marks on fabric, step by step. I will also explain why they happen and how to stop them next time. This comes from real shop experience, not theory.
What Are Heat Press Marks?
Heat press marks appear when heat, pressure, or time exceeds what the fabric can withstand. The fabric fibres flatten, shine, or burn slightly. You see this often on cotton, polyester, and blended garments.
Common signs include:
- Shiny areas around the print
- Flat fabric where texture should exist
- Light scorch marks
- Press outlines near seams or collars
This issue falls under heat transfer mistakes, and fixing it needs care.
Why Heat Press Marks Happen
Before jumping into heat press marks removal, it helps to know the cause. When you see the reason, the fix becomes easier.
Leading causes I see in real jobs:
- The press temperature is set too high
- Press time longer than needed
- Too much pressure
- Pressing without a cover sheet
- Poor heat press alignment
This is classic heat press troubleshooting, and most shops face it at some point.
Act Fast: Timing Matters
The first rule of fabric heat damage repair is speed. Fresh marks are easier to fix than old ones. If the garment cools fully, the fibres settle.
If you spot the mark right away, stop production. Do not press again without fixing it.
Step-by-Step: How to Fix Heat Press Marks on Fabric
Let me walk you through proven methods I use in my own workspace.
1. Use Steam to Lift the Fibres
Steam is one of the safest tools for garment surface restoration.
What to do:
- Hold a steam iron just above the fabric
- Do not touch the iron to the garment
- Let the steam hit the shiny or flat area
- Gently brush the area with a clean cloth
Steam helps with fabric texture restoration by relaxing the fibres.
Tip: Always test on a hidden area first.
2. Press Shine Removal Using a Damp Cloth
This method works well for cotton and cotton blends.
Steps:
- Dampen a clean cotton cloth
- Place it over the shiny mark
- Press lightly with low heat
- Lift and check after a few seconds
This technique helps with press shine removal without harming the print.
3. Vinegar for Light Shine Marks
This is an old trick, but it still works.
How to apply:
- Mix water and white vinegar (1:1)
- Dab lightly on the shiny area
- Let it air dry
- Steam lightly if needed
This method supports textile heat recovery, especially on dark garments.
Do not soak the fabric. Less is more.
4. Fabric Brush for Texture Recovery
When fibres flatten, they lose grip.
Use:
- A soft fabric brush
- Or a clean toothbrush
Brush gently in one direction. This helps fabric finishing correction by lifting fibres back up.
I often use this after steam treatment.
5. Towel Re-Press Method (Low Heat)
If marks remain, try controlled pressure.
Steps:
- Place a thick towel under the garment
- Cover the area with parchment paper
- Press at low heat for 2 to 3 seconds
This method supports fabric heat damage repair without adding shine.
Never repeat more than twice.

How to Treat Scorch Marks Safely
Scorch marks need special care. Once fibres burn, complete repair is complex. Still, you can improve the look.
Scorch mark treatment options:
- Steam plus brushing
- Baking soda paste for cotton
- Oxygen-based fabric cleaner
Avoid bleach. It makes scorch marks worse.
Fabric Types and What Works Best
Not all fabrics react the same. This matters for fabric texture restoration.
Cotton:
- Steam works well
- The damp cloth method is safe
Polyester:
- Use very low heat
- Steam from a distance only
Blends:
- Test first
- Avoid vinegar if unsure
Knowing your fabric saves garments.
Shared Heat Transfer Mistakes I See
From daily production, these mistakes often repeat:
- Pressing without a Teflon or parchment sheet
- Ignoring pressure settings
- Re-pressing prints too often
- Using one setting for all fabrics
These mistakes lead straight to heat press troubleshooting calls.
How to Prevent Heat Press Marks Next Time
Fixing marks helps, but prevention saves money.
Simple habits that work:
- Always use a cover sheet
- Lower pressure for soft fabrics
- Pre-press garments lightly
- Use the correct time for each transfer
At WiseDTFPrints, we test every transfer before running it in full.
Using Quality DTF Transfers Matters
Cheap DTF films often need higher heat to release properly. When the heat goes up, the risk of press marks and fabric shine also increases. I have seen this happen many times during production, especially on cotton and blended garments.
For small jobs, test prints, or short runs, A4 DTF transfer sheets work very well. They press at a lower heat and help avoid unnecessary fabric shine.
For bulk orders or daily production work, many of our clients choose custom DTF gang sheets. They reduce press time and help limit heat-related errors during long runs.
Press Settings That Reduce Damage
Here are safe starting points I use often:
- Temperature: Follow the transfer guide
- Time: Never exceed recommended seconds
- Pressure: Medium, not firm
- Cool-down: Let the garment rest
This helps avoid fabric-finishing corrections later.
When Heat Marks Cannot Be Fully Fixed
I want to be honest. Some marks stay.
Heavy scorch marks mean fibre damage. In such cases:
- Reprint the garment
- Use the item for samples
- Adjust settings before next press
Honesty builds trust with customers.
My Personal Advice from the Shop Floor
I still see heat marks now and then. What matters is how fast you spot them and how calm you act. Rushing causes more damage.
If you work with DTF often, choose transfers that press clean. We test ours daily across many fabrics. You can also explore buying DTF transfers directly from our site.
Final Thoughts
Heat-press marks can look scary, but most are fixable. With steam, light pressure, and patience, you can restore many garments. Understanding heat press mark removal, textile heat recovery, and fabric heat-damage repair makes a real difference.
I hope this guide helps you save time, money, and stress. This advice comes straight from real production floors, not guesswork.
If you press daily as I do, minor fixes add up fast.
Read more: How to Prevent Cracking in DTF Prints.
Frequently Asked Questions
1. Can heat-press marks appear even if the transfer applies correctly?
Yes, this happens quite often. A transfer can bond well while the fabric is still shiny or has flat marks. This usually means the pressure was slightly high or the fabric stayed under heat for too long. The print looks fine, but the garment’s surface reacts to the heat.
2. Will fixing heat press marks damage the printed design?
If you work carefully, it should not. Most fixes, like steam, light brushing, or using a damp cloth, focus on the fabric rather than the print. The key is to avoid direct high heat on the design again. I always suggest gentle methods first and check the result step by step.
3. Why do heat press marks show more on dark garments?
Dark fabrics show shine more clearly because flattened fibres reflect light. Even small pressure changes become visible. This is why dark cotton and blends need extra care, lower pressure, and a cover sheet during pressing.