Hi, I’m Shumail Ahmed, and I run Wisedtfprints.com. I work with DTF prints every day. I speak with small brands, print shops, and creators across the UK. Many of them ask the same question: How do I build a clean, cost-saving DTF gang sheet? This guide answers that question clearly. I will share how I build gang sheets for real orders. I will keep it simple, practical, and easy to follow. If you are new to DTF or want better results, this guide will help.
What Is a DTF Gang Sheet?
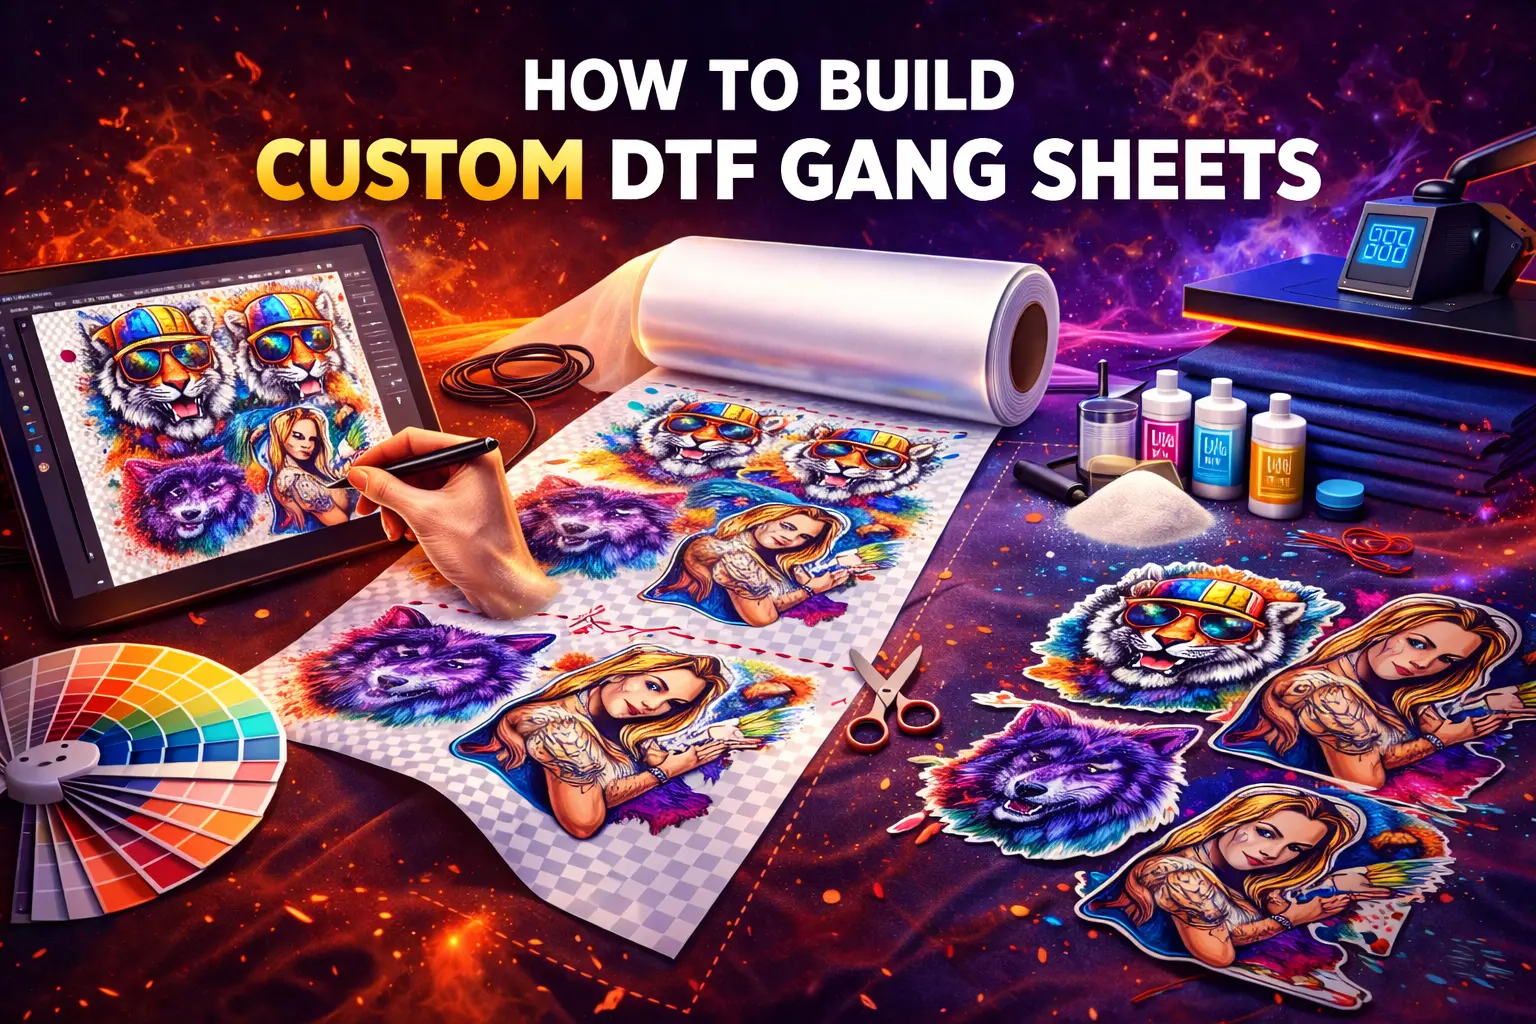
DTF gang sheet creation involves placing multiple designs on a single sheet. You print them together instead of one by one. This saves film, ink, and time. You then cut the designs after printing and press them on garments when needed. Many UK printers use gang sheets to handle bulk orders and mixed designs.
Why Custom DTF Gang Sheets Matter
Custom gang sheet transfers give you control. You choose the size, layout, and design mix. This helps when you print logos, names, or small runs. I always suggest gang sheets to reduce waste and keep costs low. They also speed up production when orders grow.
Step 1: Plan Your DTF Transfer Layout
Good results start with planning. Before opening any software, list your designs. Note their final print size.
DTF transfer layout planning helps you avoid mistakes later. Ask yourself:
- Which designs go together?
- What sizes do I need?
- How many items will I press?
Precise planning makes building DTF gang sheets smooth.
Step 2: Set Up the Canvas Correctly
Canvas setup matters more than most people think. Match the canvas size to your sheet size. For example, if you plan an A3 sheet, set the canvas to A3 at 300 DPI. This keeps quality sharp. If you order sheets often, try ready sizes like the A3 DTF transfer sheet. It suits logos, chest prints, and back prints well.
Step 3: Prepare Your Files Properly
File preparation avoids print issues. Use PNG files with transparent backgrounds. Keep colours clean and bold. Check resolution before placing designs. Low-quality files lead to poor prints. I always inspect files before layout work.
Step 4: Resize Designs with Care
Design resizing should align with the real garment needs. Do not stretch images to fill space. This ruins quality. Use real-size values in inches or centimetres. Keep text readable and logos sharp. Balanced sizing also helps with layout alignment later.
Step 5: Arrange the DTF Gang Sheet Layout
The DTF gang sheet layout decides how much you save. Place designs close, but never touching.
Focus on:
- Layout alignment for straight cuts
- Equal spacing margins
- Easy cutting paths
This step takes time, but it pays off.
Step 6: Keep Safe Spacing and Bleed Area
Spacing margins stop designs from merging. Leave space for cutting and pressing. Add a small bleed area if needed. This protects edges during the press. I use this step for fine text or thin lines.
Step 7: Optimise the Layout for Print
DTF layout optimisation means using space wisely. Rotate designs when it helps. Fill gaps with small logos if possible. This approach lowers the cost per print. It also reduces film waste. Many of my clients save money using this method. If you want ready help, try building your own DTF gang sheets transfers. It suits brands that want control without design stress.

Step 8: Check Colour Settings
Colour calibration keeps prints accurate. Use RGB unless your printer guide says otherwise. Avoid dull colours. Bright designs press better on fabric. I test colours often to keep results steady.
Step 9: Preview Before Printing
Always use print preview. Zoom in and scan the sheet. Look for overlap or missing edges. Print preview catches minor errors that screens hide. This step saves time and film.
Step 10: Run a Quality Check
Quality check comes before print, not after, review size, colour, and spacing.
Ask yourself:
- Are all designs sharp?
- Is spacing even?
- Are the sizes correct?
This habit reduces reprints.
Step 11: Do Pre-Press Testing
Pre-press testing helps confirm results. Test one sample before complete runs. Check feel, colour, and press time. This step matters for bulk jobs.
Step 12: Choose the Right Printing Option
DTF gang sheet printing depends on order size. Small runs work well on sheets. Large orders suit rolls. For bulk work, I suggest options like buying wholesale DTF transfers. It suits growing brands and print shops.
Step 13: Use Trusted Custom Gang Sheet Services
Some users prefer expert support. That’s fine. Our custom DTF gang sheets transfer prints help brands save time while keeping control.
Common Mistakes to Avoid
Many beginners rush the layout work. Avoid these errors:
- Poor canvas setup
- Tight spacing margins
- No bleed area
- Skipping print preview
- Ignoring colour checks
Fixing these saves money and stress.
Honest Advice from My Experience
I built my process through real orders. I tested layouts, spacing, and film types. Each mistake taught me something. Gang sheets work best when you slow down at setup. A clean start gives clean results.
When to Use Gang Sheets
Use gang sheets when:
- You print many small designs
- You handle mixed orders
- You want a lower cost per print
Single designs suit one-off jobs. Gang sheets suit growth.
Tools That Help
You do not need fancy tools. Simple design software works fine. Focus on skill, not tools. Good planning beats complex software every time.
Final Thoughts
Building DTF gang sheets is a skill. Anyone can learn it with the proper steps. Plan well. Set the canvas right. Respect spacing. Check colours. Test before bulk runs. I use this method daily at Wise DTF Prints, and it works. If you follow these steps, you will get clean prints and save money. If you ever need help, my team and I are here.
Read more: DTF Printing for Light vs Dark Garments
Frequently Asked Questions
How do I decide the best layout for my DTF gang sheet without wasting space?
I always start by listing the final print sizes I need. Then I place larger designs first and fill gaps with smaller ones. This approach improves DTF layout optimisation and reduces film waste. Avoid forcing designs to fit, as this can affect print quality.
What spacing should I keep between designs on a DTF gang sheet?
I recommend leaving clear spacing margins between each design. This space helps during cutting and pressing. Tight layouts may save space, but they increase the risk of cutting errors and edge damage, especially on detailed prints.
Do I need to test a gang sheet before full printing?
Yes, pre-press testing is essential. I always run a test print to check colour calibration, size accuracy, and overall finish. This small step prevents costly mistakes when you move to full DTF gang sheet printing.