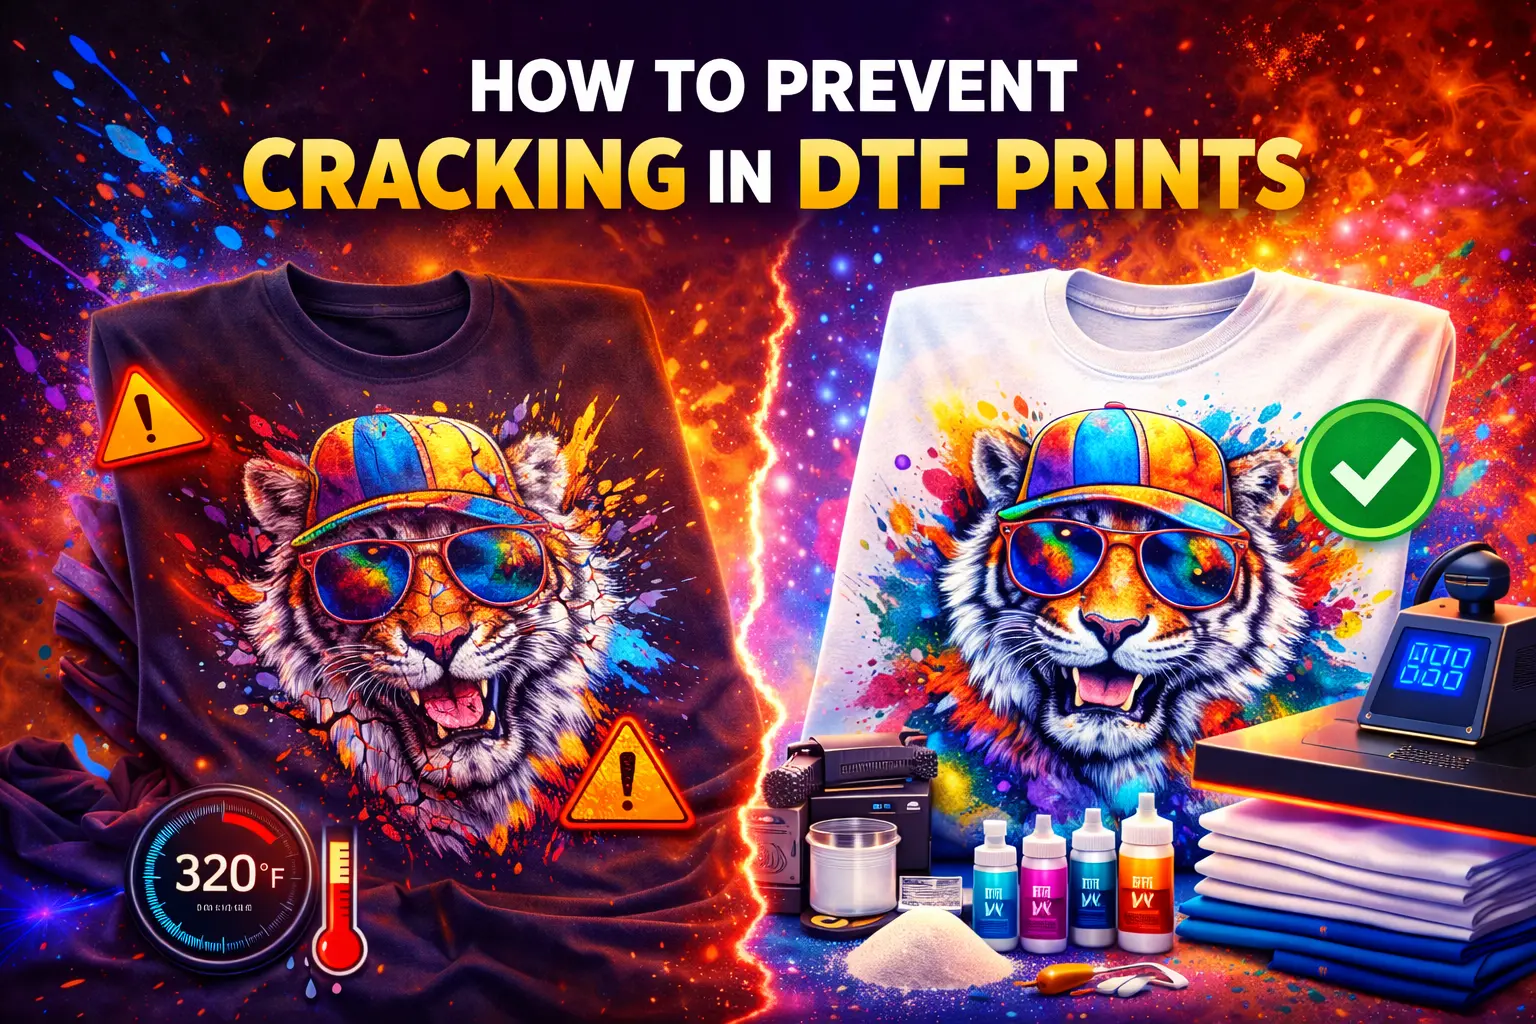
How to Prevent Cracking in DTF Prints
Cracking is one of the most common issues people face with DTF prints. I see it often when customers first
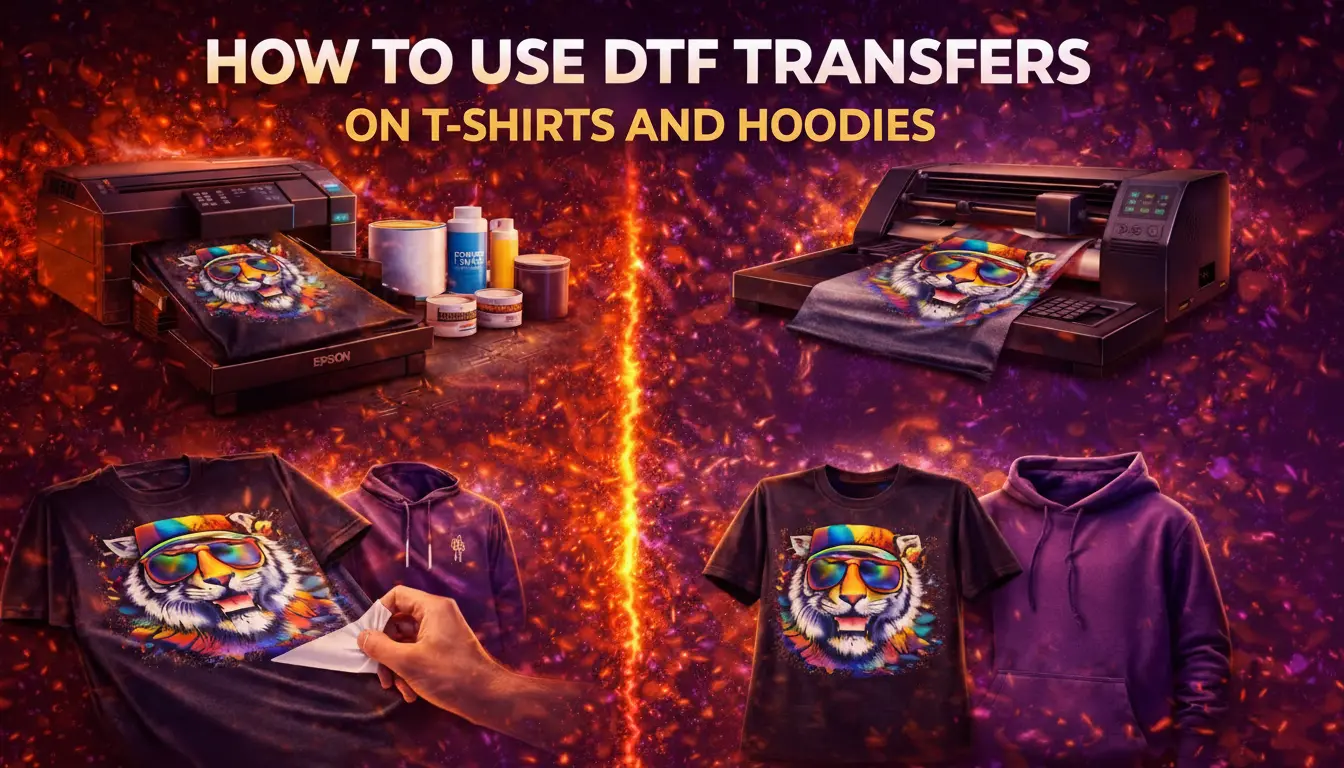
Hi, I’m Shumail Ahmed, founder of Wise DTF Prints. I work with DTF prints every single day. Clients across the UK trust us for clean, long-lasting transfers. In this guide, I will show you exactly how to use DTF transfers on t-shirts and hoodies correctly.
If you follow these steps, you will get sharp colours, strong wash durability, and a smooth print texture. Let’s keep it simple and clear.
DTF stands for direct-to-film transfer process. We print the design on a special film. Then we apply adhesive powder. After curing the film, we press it onto fabric using heat.
This custom t-shirt printing method works on cotton, polyester, and blends. It also supports on-demand apparel printing and commercial garment decoration. That means you can print one shirt or hundreds.
Before pressing anything, gather the right tools:
You can order ready-to-press sheets from our shop. Now let’s move step by step.
Good results always start with garment surface preparation. If the fabric is dusty or moist, the print may fail. First, use a lint roller. Remove fibres and dirt. Next, pre-press the garment for 5 seconds. This pre-press fabric preparation removes wrinkles and supports moisture removal before pressing. This small step improves print longevity and the edge sealing technique later.
The correct heat press temperature is very important. Too low and the adhesive will not bond. Too high and you may scorch the fabric.
For most transfers:
Always check your supplier’s guide. At Wise DTF Prints, we test every film to match UK standards. Make sure you have even pressure distribution. Also, check platen alignment so the pressure spreads evenly.
Now place your design on the garment. Good transfer film positioning avoids crooked prints. Fold the shirt lightly to find the centre. Align the design carefully. For hoodies, avoid pressing over seams. Seams block even pressure distribution. This step is crucial in the hoodie heat transfer technique. Thick fabric needs firm pressure.
Place parchment paper or a pressing cloth barrier on top. This protects both the film and the heat plate. Press using the correct settings. Keep the press steady. Do not shake it.
This method works well for:
DTF supports most fabrics, which makes it better than many other systems.
After pressing, you must decide between the cold peel and the hot peel method. Some films allow hot peels. You remove the film straight away. Others need a cold peel. You wait until it cools fully. Peel technique timing is very important. If you peel too early on cold peel film, the design may lift. At Wise DTF Prints, we clearly label each film so you know which method to use.
After peeling, do a second press technique. Cover the design again with parchment paper. Press for 5–10 seconds. This supports post-press curing and improving wash durability. It also creates a smooth print texture and a professional finish. This extra press seals the edges and improves print longevity. Never skip this step if you want quality results.

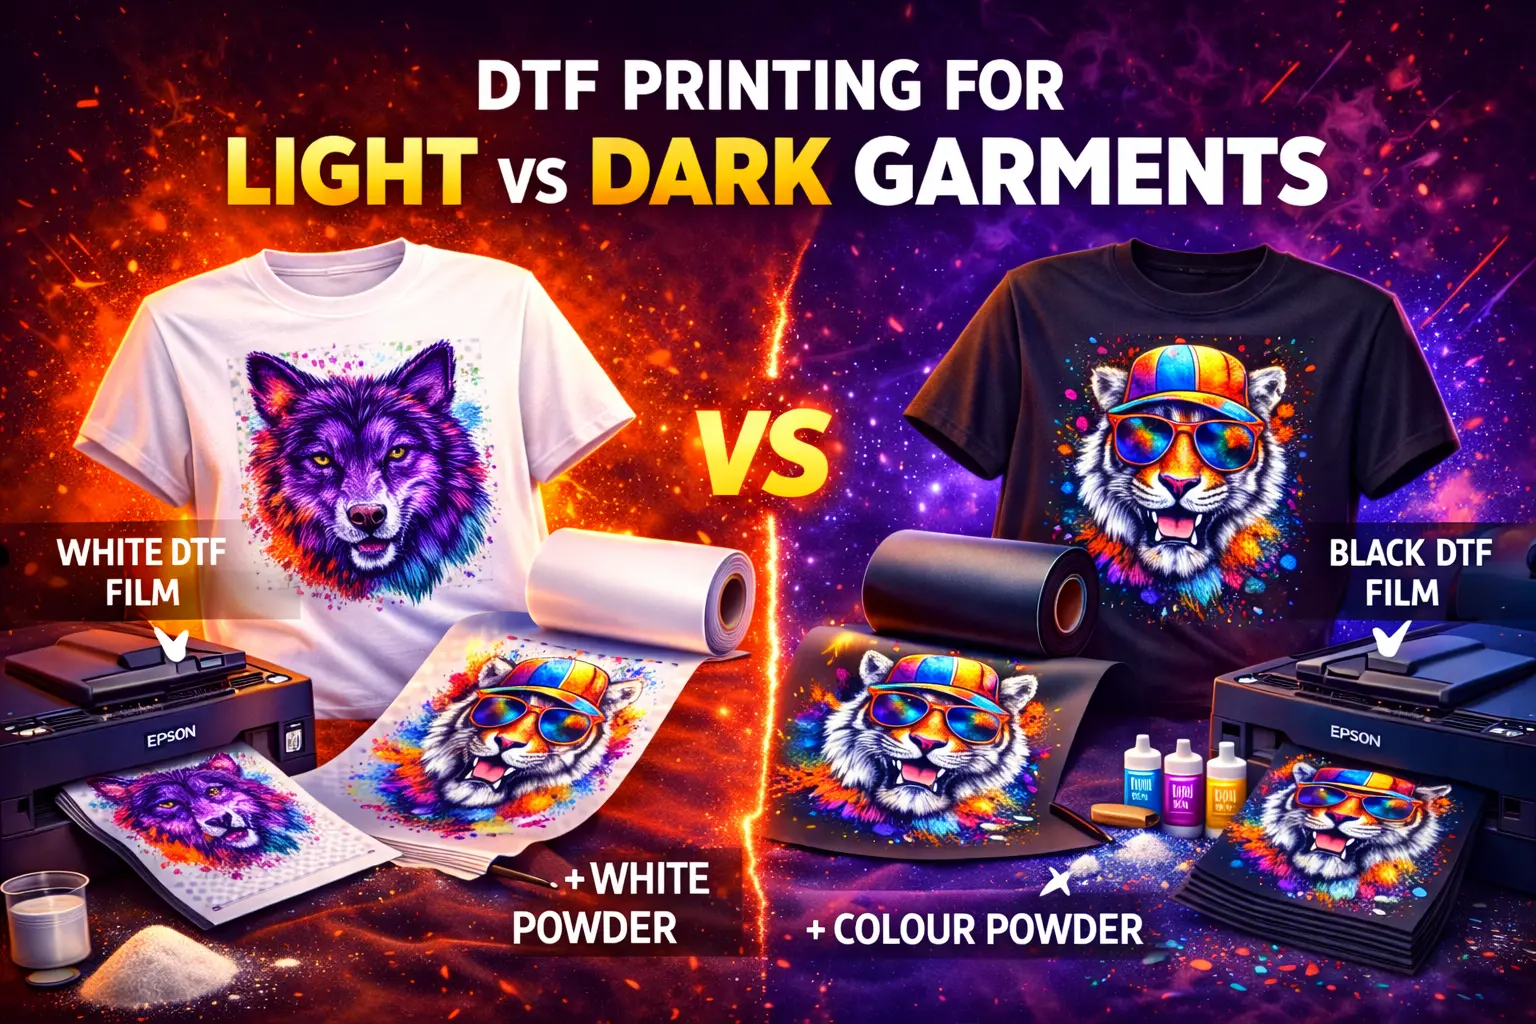
Cotton t-shirt application is simple, but keep these points in mind:
Cotton handles heat well. Still, check the care label. Some fashion tees are thinner. If you sell printed shirts, this helps you deliver consistent quality.
Polyester hoodie pressing needs more care. Hoodies are thick. Seams and pockets cause uneven surfaces.
Here is what I do:
This hoodie heat transfer technique prevents patchy bonding.
For bulk orders, I suggest using our larger transfer rolls, such as custom metre rolls. You can explore all available sizes and formats in our DTF transfer collection.
Many small business owners print from home. That’s fine. An at-home heat press guide is simple:
If you plan to grow, move to commercial garment decoration equipment later. It saves time and improves results.
I see these errors often:
Each mistake reduces wash durability and print life. Take your time. Good printing rewards patience.
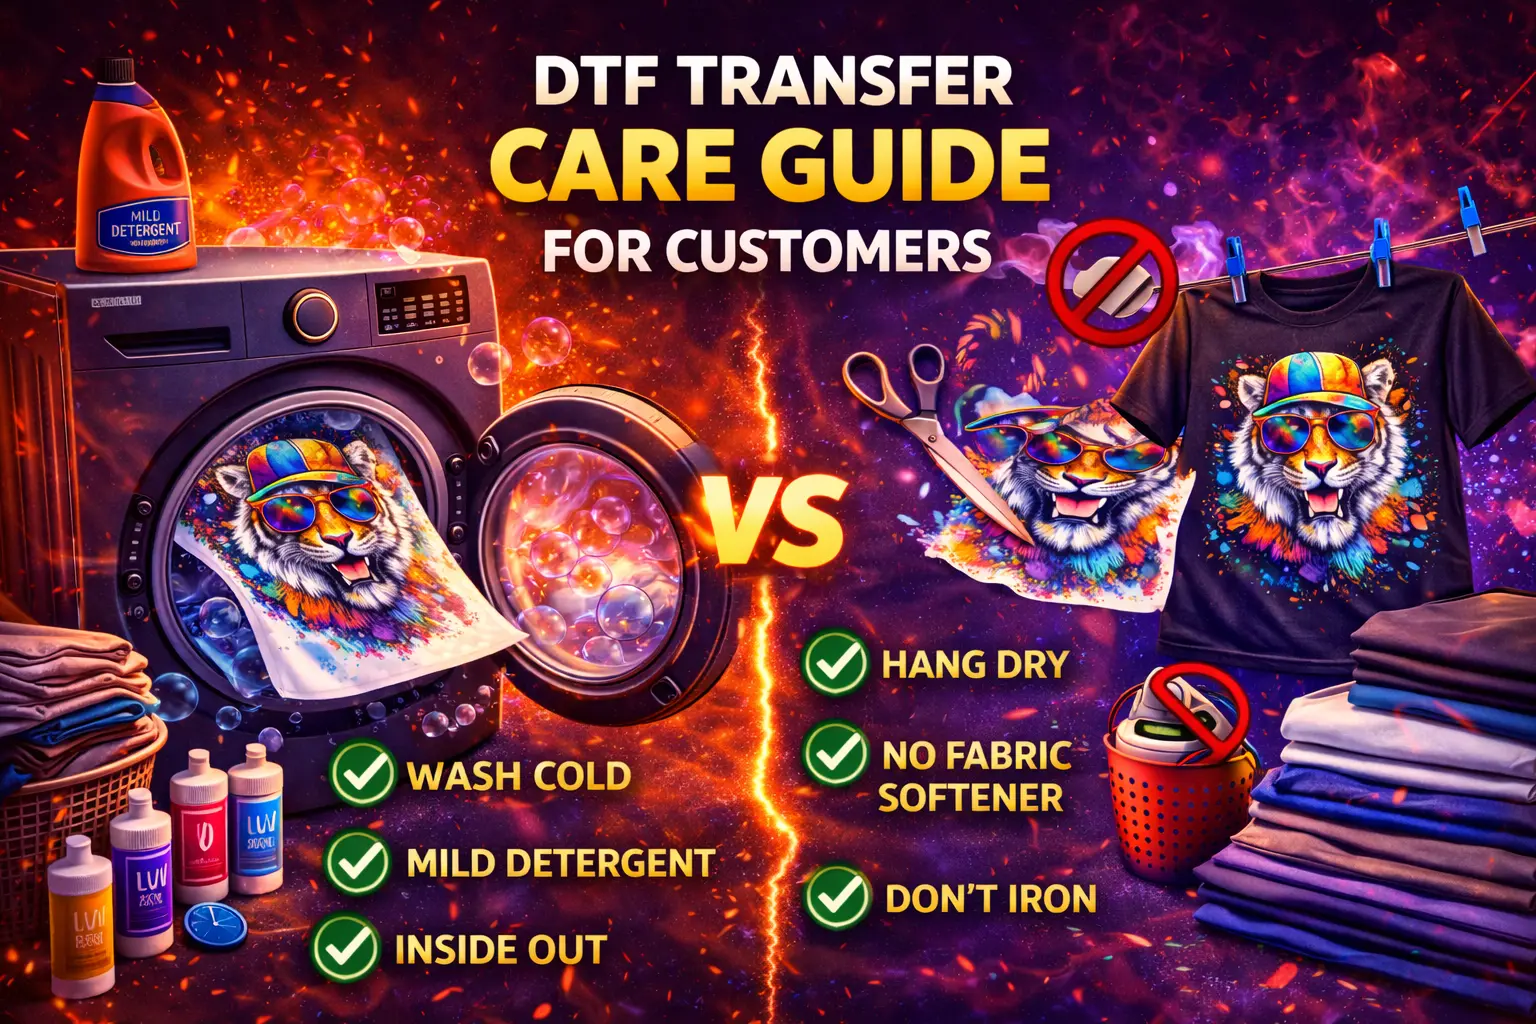
Clients always ask me how to improve wash durability. Here is my advice:
Tell customers to avoid tumble drying on high heat. Clear care advice protects your brand.
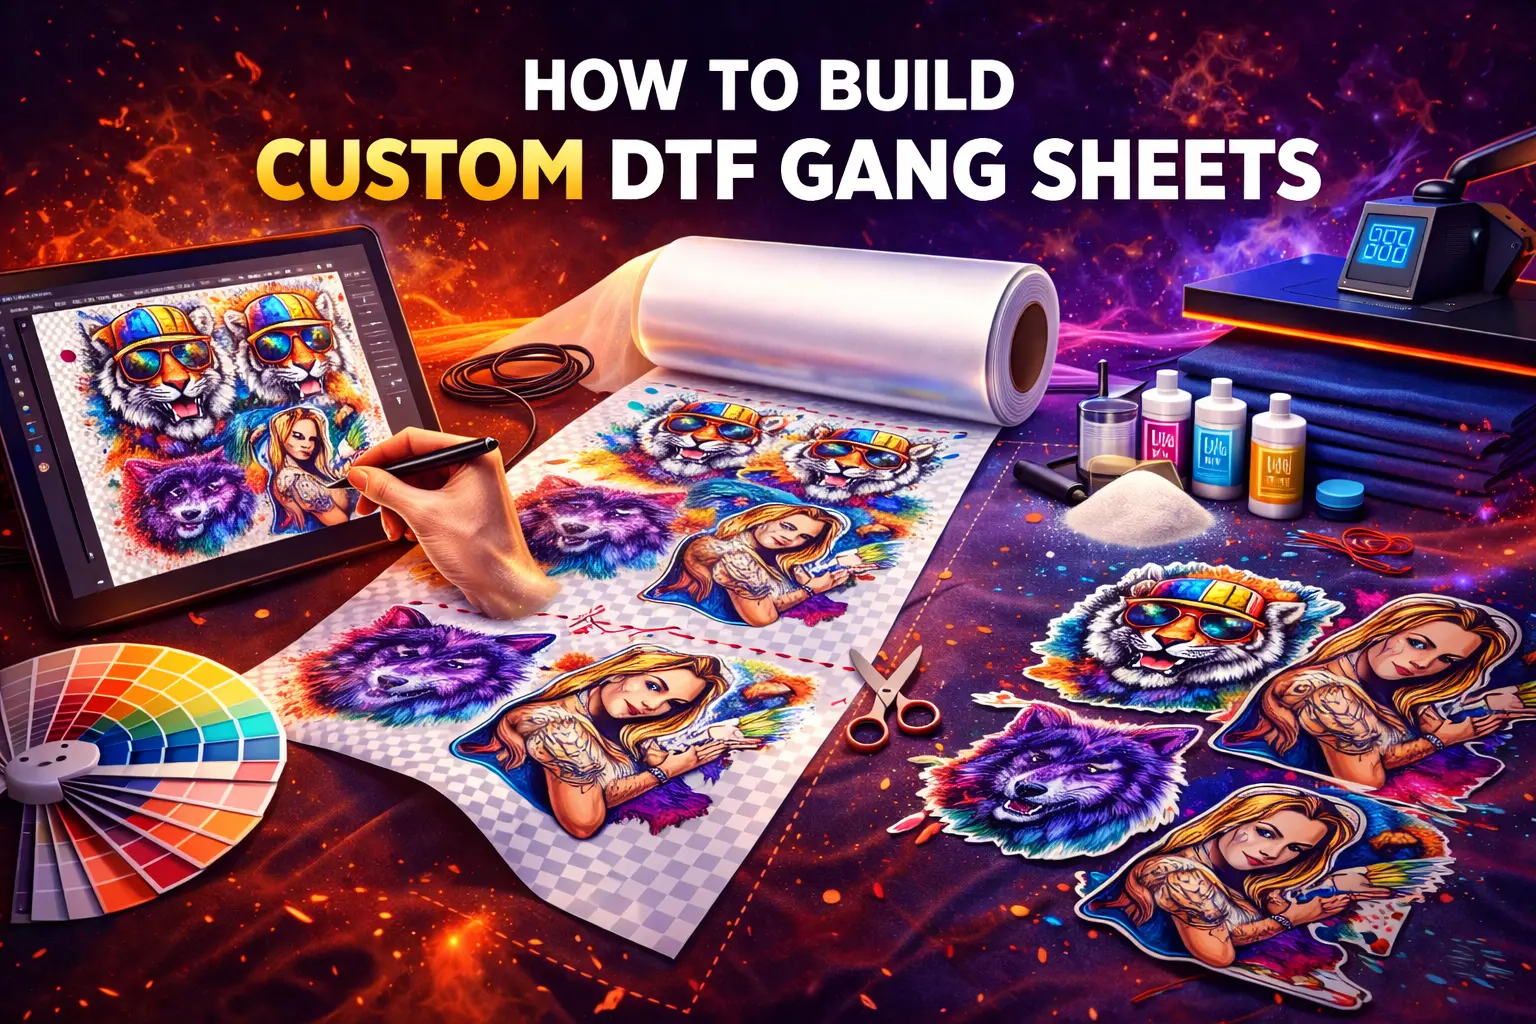
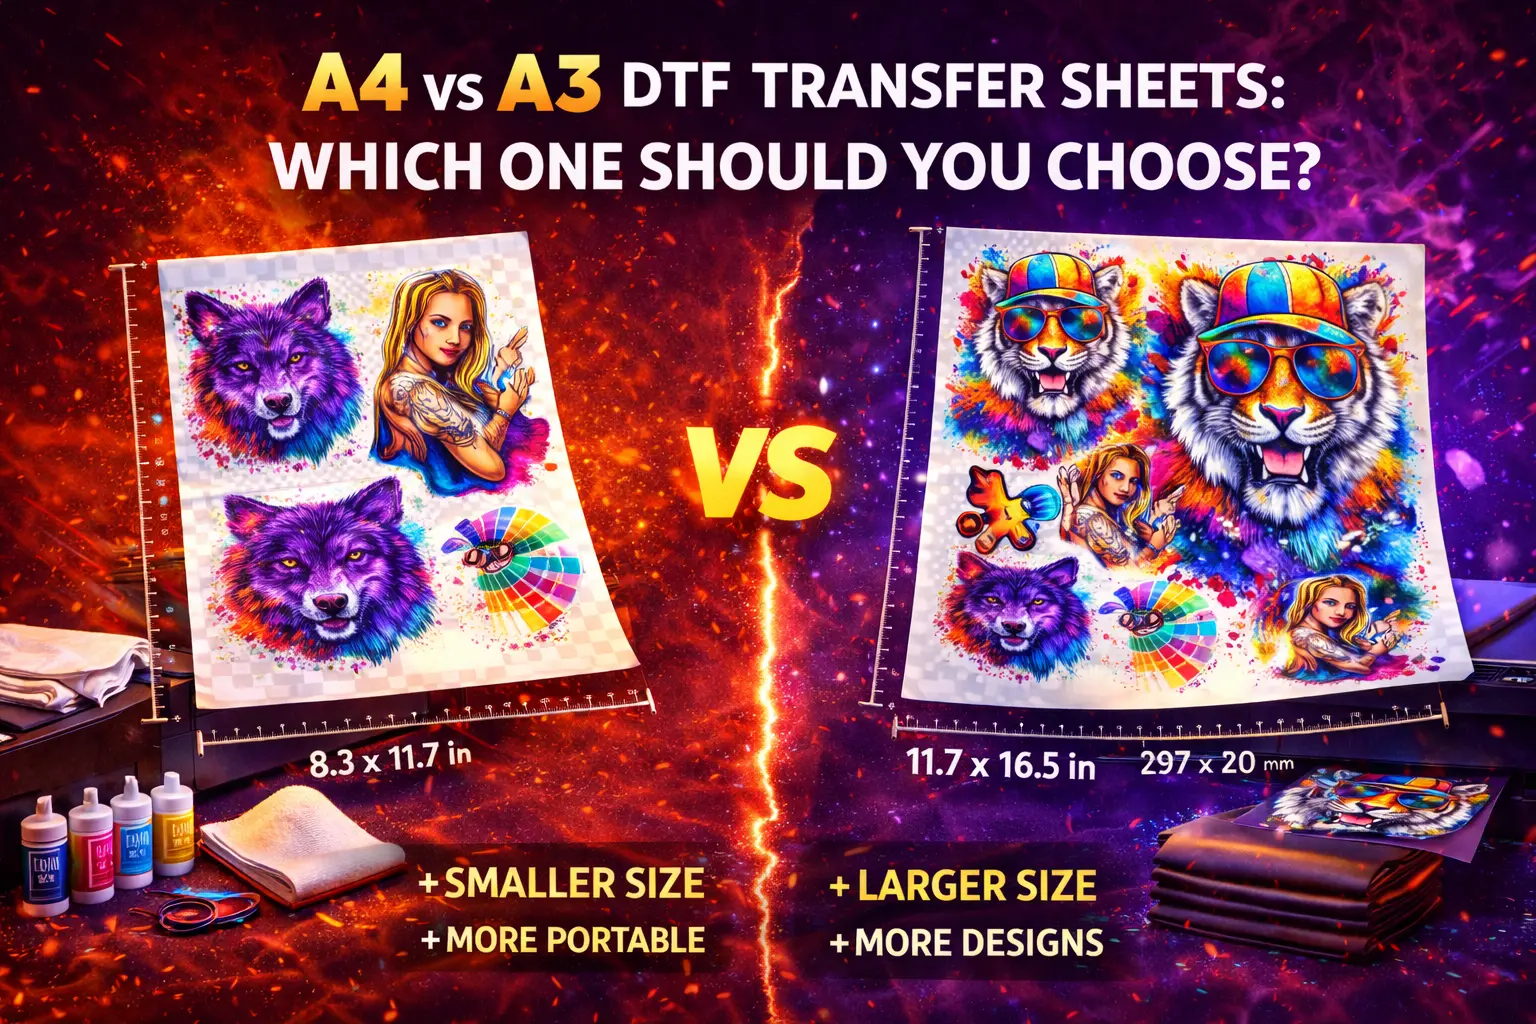
If you print small batches, A4 or A3 sheets work well. For higher volume, use gang sheets or metre rolls. You can check our custom gang sheets. Choose based on your order size. This helps manage cost and profit.
DTF supports on-demand apparel printing. You print only what you sell. No large stock needed. It also supports blended fabric compatibility. That means you can offer more garment choices.
The direct-to-film transfer process gives:
That makes it ideal for UK clothing brands, sportswear, and event merchandise.
Let me share how I run it daily. First, I inspect every design file. Then I print and cure the film correctly. When pressing, I double-check platen alignment and pressure. I never rush the timing of the peel technique. After peeling, I apply a second press to seal the edges and improve durability. This routine helps me deliver professional finish results every time.
DTF printing is simple once you understand the basics. Focus on garment surface preparation, the correct heat-press temperature, and proper pressing time. Always control the pressure and peeling method. If you follow this guide, you will get smooth print texture, clean edges, and long-lasting results on both t-shirts and hoodies.
I built Wise DTF Prints to help UK creators print with confidence. If you need reliable transfers, clear support, and tested products, visit our shop and start today. Print smart. Press with care. And always test before bulk production.
Read more: DTF Printing vs Vinyl Printing
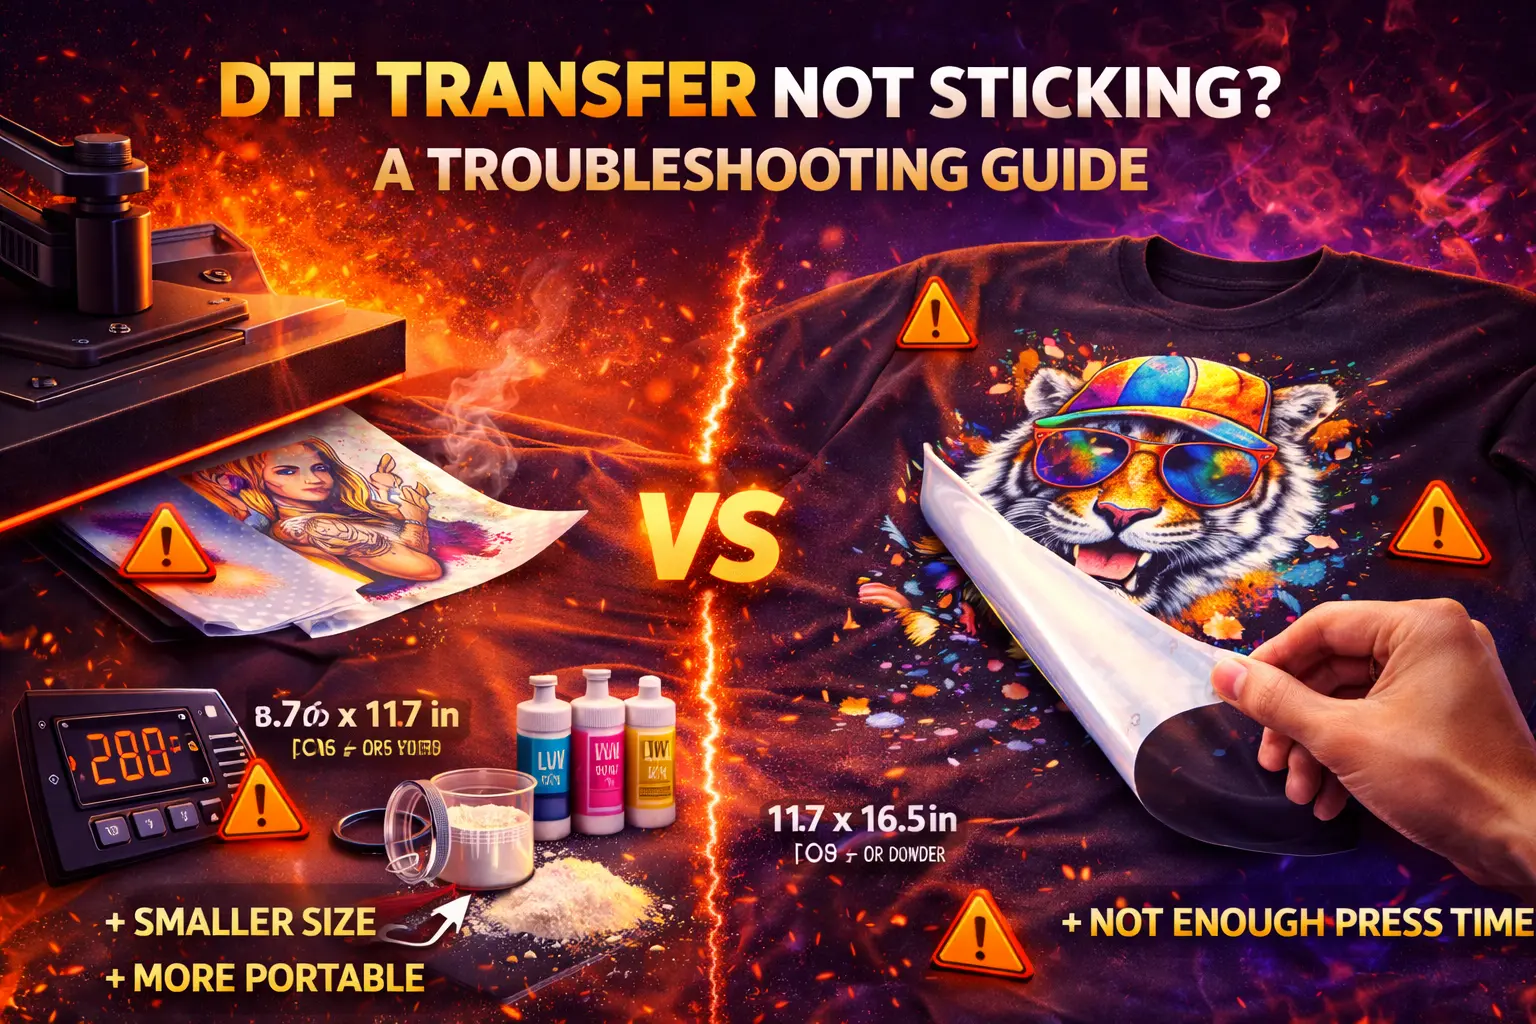
Peeling usually happens due to low heat, weak pressure, or skipping the second press technique. Always use the correct heat-press temperature, the proper pressing time, and allow full post-press curing to improve wash durability and bonding strength.
No, fabrics react differently. Cotton t-shirt application needs medium pressure, while polyester hoodie pressing needs firmer pressure due to the thickness. Adjust recommended pressure settings and check platen alignment to ensure even pressure distribution and long-lasting results.
A rough texture often means uneven pressure or no moisture removal before pressing. Always complete garment surface preparation and apply the second press technique using a pressing cloth barrier to achieve a smooth print texture and a professional finish.

Cracking is one of the most common issues people face with DTF prints. I see it often when customers first
Hi, I’m Shumail Ahmed, and I run Wisedtfprints.com. I work with DTF prints every day. I speak with small brands,
DTF printing has changed how many of us handle custom apparel printing in the UK. At Wise DTF Prints, I
I’m Shumail Ahmed, and I run Wisedtfprints.com. Every week, customers across the UK ask me the same thing. “Should I
Hi, I am Shumail Ahmed. I work with DTF transfers every single day. I print them. I press them. I
Suppose you buy DTF transfers or wear DTF-printed clothing; proper care matters. Good care keeps prints bright, soft, and strong