If you have just started using DTF transfers, you may feel excited after your first press. Then you wash the shirt and see peeling after pressing or dull colour output. That moment feels hard. I have seen it many times. My name is Shumail Ahmed, and I run Wise DTF Prints. I supply DTF prints across the UK. I also test every batch myself. Over the years, I have noticed clear patterns in beginner DTF application errors. Most issues come from heat, pressure, or timing.
In this guide, I will explain the common DTF pressing mistakes I see every week. I will also share my professional pressing technique so you get strong, clean, long-lasting prints.
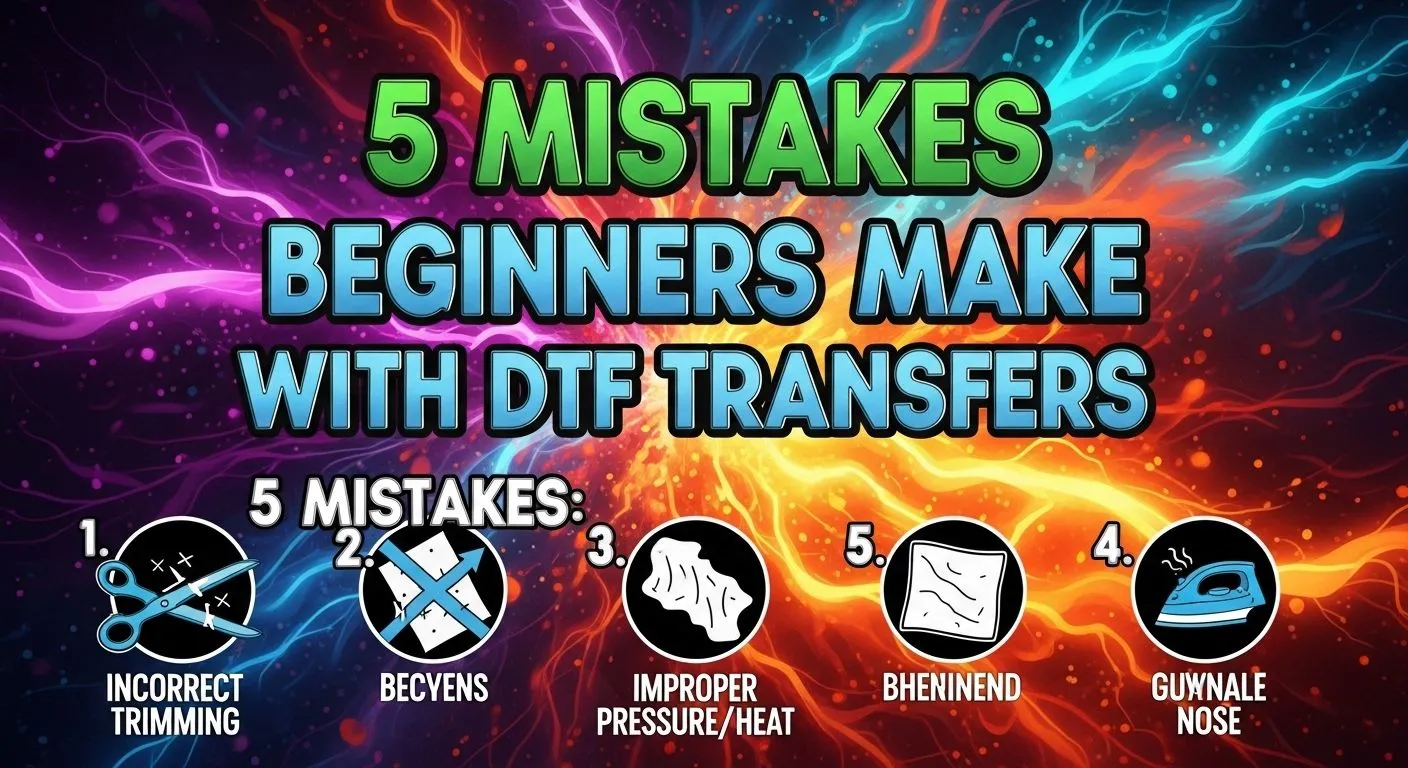
Why Most Beginner DTF Application Errors Happen
DTF printing looks simple. You place the film, press it, peel it, and you are done. Yet small details matter.
Most problems are linked to:
Improper heat press settings
Incorrect temperature control
Wrong pressure adjustment
Skipping the pre-press step
Poor adhesive activation
If you fix these basics, you fix 80% of issues.
1. Improper Heat Press Settings
Let us start with the biggest mistake: using guesswork. Many beginners use random settings they saw online. Every press behaves differently. Uneven heat distribution and platen pressure imbalance are often the cause of print failure.
Incorrect Temperature Control
If you set the heat too low, you get under-pressed transfer film. The adhesive does not melt fully. This leads to incomplete transfer bonding and weak fabric adhesion. If you set the heat too high, you risk excessive exposure to heat. You may see overheated fabric fibres or faded print results.
I always recommend testing your machine with a thermometer strip. Do not trust the display unquestioningly.
Wrong Pressure Adjustment
Pressure matters as much as heat. Too little pressure causes lifting transfer edges. Too much pressure can crush fibres and affect stretch. Your press should close firmly. You should feel resistance, but not force it.
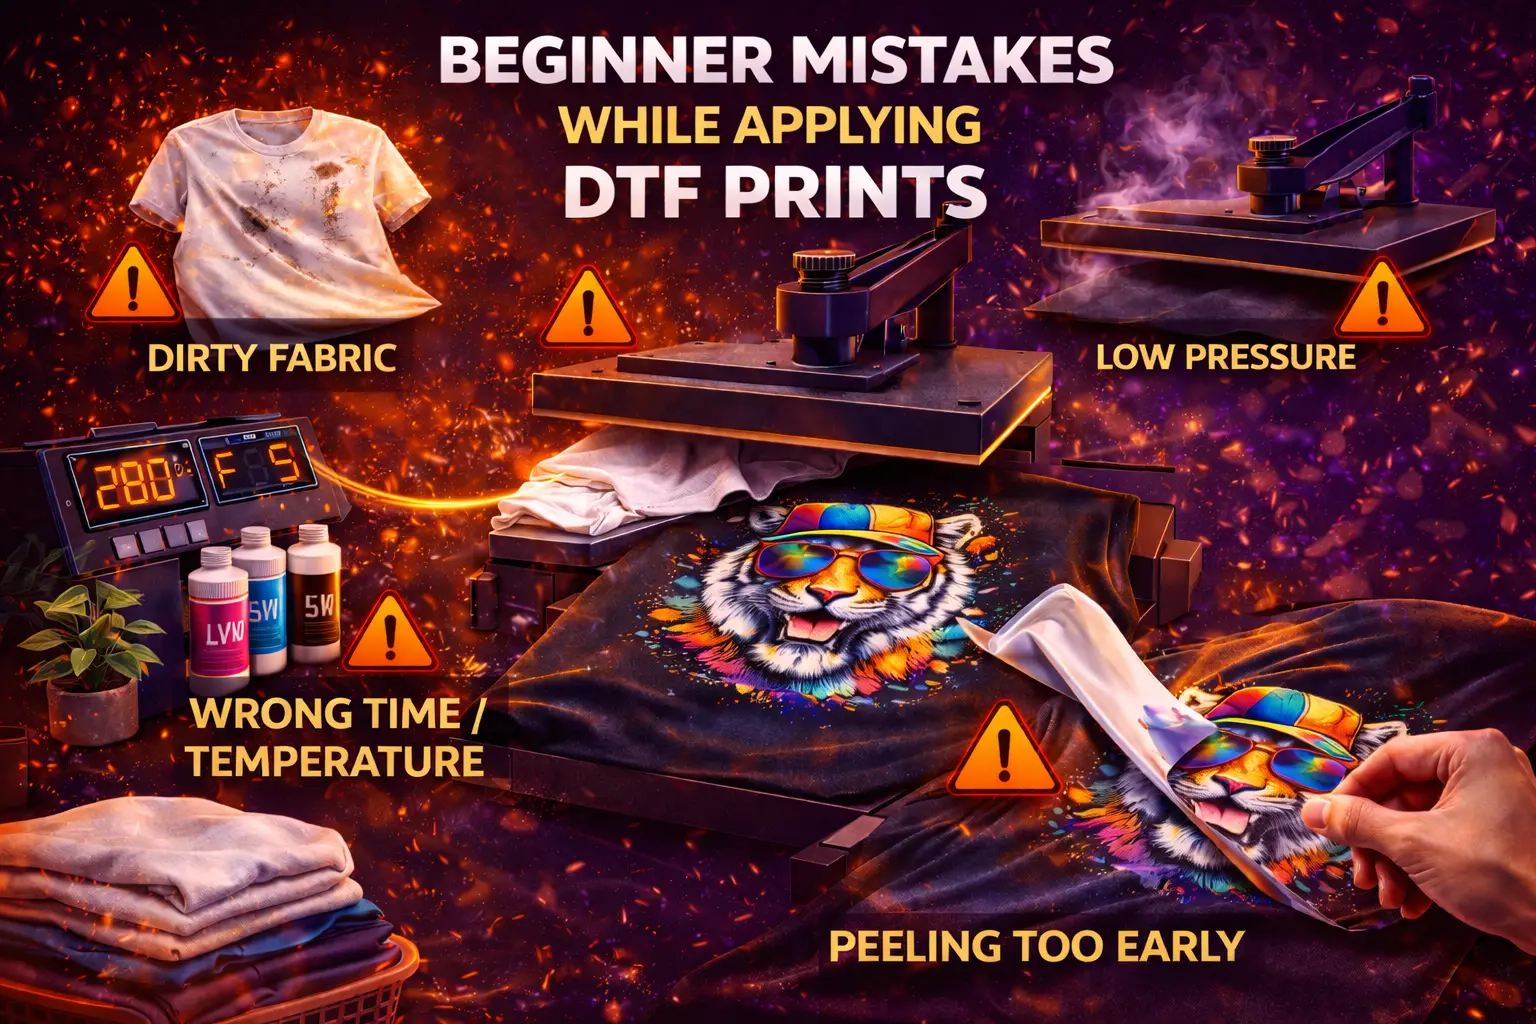
2. Skipping the Pre-Press Step
Many beginners rush. They place the transfer straight onto the garment. This creates moisture in the garment fabric. Cotton holds water from storage or the air. When you press, steam forms under the film. That steam leads to air bubbles under transfer. Always pre-press the garment for 5 seconds. This removes moisture and flattens fibres. It also reduces surface contamination on garments, such as dust or lint. This one step prevents wash durability problems later.
3. Improper Film Positioning and Design Misalignment
You only get one clean first impression. Improper film positioning causes design misalignment. Once pressed, you cannot move it.
Before pressing:
Fold the shirt in half
Mark the centre lightly
Align your transfer carefully
If you rush, you waste the garment. If you need ready sheets for testing, you can try our A4 DTF transfer sheet. Small sheets help beginners practise alignment without high cost.
4. Cold Peel Timing Issues and Hot Peel Handling Mistakes
Peeling at the wrong time causes cracked DTF prints. Some films require cold peel. Some need a warm peel. If you peel too early, you create adhesive bonding failure. If you wait too long to peel the hot film, it can stick hard and damage the edges. Always check your supplier’s instructions for our custom DTF transfers. I clearly state the peel method. Follow it exactly. Peel slowly and evenly. Do not rip fast. If you see lifting transfer edges, lay it back down and repress for a few seconds.
5. Insufficient Pressing Time
Some beginners fear burning the shirt. So they reduce time. Insufficient pressing time leads to poor adhesive activation. The glue powder does not melt fully. This creates print longevity issues.
On the other hand, too much time causes excessive heat exposure and dull colour output. Follow the recommended heat-press settings from your supplier. In most cases, 10 to 15 seconds works well at the correct temperature and medium to firm pressure.
6. Fabric Compatibility Issues
Not all garments behave the same.
Cotton vs Polyester Behaviour
Cotton handles heat well. Polyester reacts fast. Too much heat on polyester causes dye migration. You may see faded print results or colour change. Always reduce the temperature slightly for polyester and use shorter press cycles if needed.
Stretch Fabric Application Errors
Stretch garments need balanced pressure. If you press too hard, the print may crack when stretched. Use moderate pressure and always do a second short press with parchment paper on top.
Textured Garment Challenges
Heavy hoodies, ribbed fabric, or seams create uneven heat distribution. The print may not bond in low spots. Use a pressing pillow inside thick garments. This improves platen pressure imbalance and helps achieve complete bonding.
If you print bulk hoodies, consider our 50 metre DTF transfer roll. It gives consistent quality for larger runs.
7. Improper Curing Process
Curing happens during pressing. If heat and time fail, the adhesive remains soft. An improper curing process leads to peeling after pressing and durability problems after washing. After peeling, always do a post-press for 5 seconds with a protective sheet. This step seals the print and improves durability. Many beginners skip this. Do not.

8. Incorrect Transfer Storage
You can press perfectly and still fail, incorrect transfer storage can damage the adhesive powder. Humidity affects glue. The store transfers flat, in a dry, shaded space. Use them within a reasonable time. If the adhesive feels rough or patchy, you may face incomplete transfer bonding.
9. Under-Pressed Transfer Film and Adhesive Bonding Failure
If parts of your design look shiny or loose, you likely have under-pressed transfer film.
Check:
Was the temperature correct?
Was the pressure firm?
Did you pre-press?
Troubleshooting DTF transfers becomes easier once you review these steps calmly. Never panic. Analyse each stage.
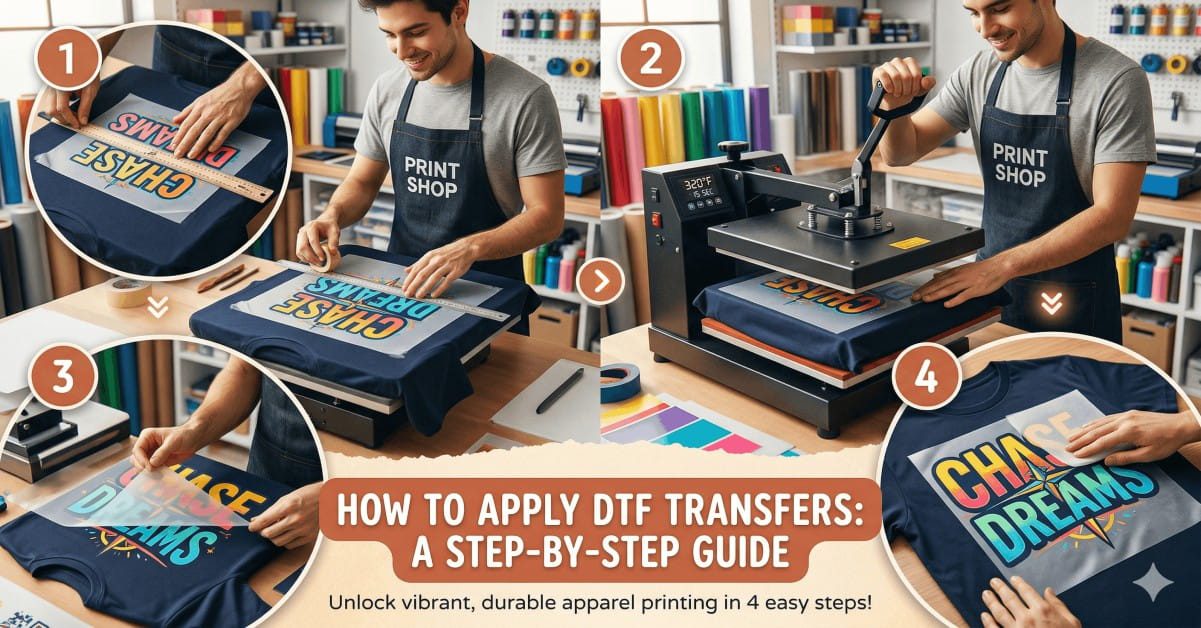
10. Step-by-Step DTF Application Process (My Exact Method)
Here is my simple step-by-step DTF application process:
Pre-press the garment for 5 seconds.
Place transfer with proper alignment.
Press at recommended heat and pressure for 10 to 15 seconds.
Follow the correct peel method.
Post-press for 5 seconds with parchment paper.
This professional pressing technique prevents most beginner errors.
Real Example From My Workshop
A customer once contacted me about cracked DTF prints. He believed the transfers were faulty. I asked about his press settings. He used light pressure for only 8 seconds. He also skipped pre-press. We adjusted his settings and added post-press finishing. The next batch looked perfect. No peeling after pressing. No dull colour output. The issue was not the film. It had improper heat press settings.
Choosing Quality Transfers Matters
Even perfect pressing cannot fix poor film at Wise DTF Prints Shop. I focus on strong adhesive and sharp colour. Quality film reduces beginner DTF application errors. Better materials reduce stress during pressing.
Quick Checklist Before Every Press
Use this short list:
Remove moisture from the garment fabric
Check the temperature with a test strip
Set the correct pressure
Confirm peel type
Do post-press finishing
Simple habits improve results fast.
How to Improve Print Longevity
If you want strong wash durability:
Avoid overheating fabric fibres
Ensure full adhesive activation
Always complete curing
Wash garments inside out
Use a mild detergent
These steps reduce print longevity issues.
Final Thoughts From Me
DTF printing is simple once you respect the process. Most common DTF pressing mistakes happen because beginners rush. Slow down. Check the heat. Check pressure. Follow correct timing. If you apply the step-by-step DTF application process I shared, you will see fewer cracked DTF prints and stronger fabric adhesion.
I built Wisedtfprints.com to support creators across the UK. My goal is clear: provide reliable transfers and clear guidance. If you ever feel unsure, test on scrap fabric first. Good pressing is a skill. With practice, it becomes easy.
Read more: DTF vs Sublimation: What’s the Difference?
Frequently Asked Questions
Why does my DTF print peel after washing?
Peeling occurs when the adhesive does not bond fully, low heat, light pressure, or a short pressing time result in weak fabric adhesion. Always press properly and post-press briefly.
How do I know if my heat press temperature is wrong?
Dull colour output means too much heat. Lifting transfer edges means low heat or pressure. Test temperature and use firm pressure for complete transfer bonding.
Why do air bubbles appear under my transfer?
Air bubbles form from moisture in the garment fabric. Skipping pre-press traps steam under film. Always pre-press for five seconds to remove moisture and improve adhesion.